Set the grid column editType property
Set the grid column editType property
Preview the eidtable grid
Place a button for new orders and create an onAction handler
The newOrder method stub is created
Preview of the ship info lookup in the NG Client
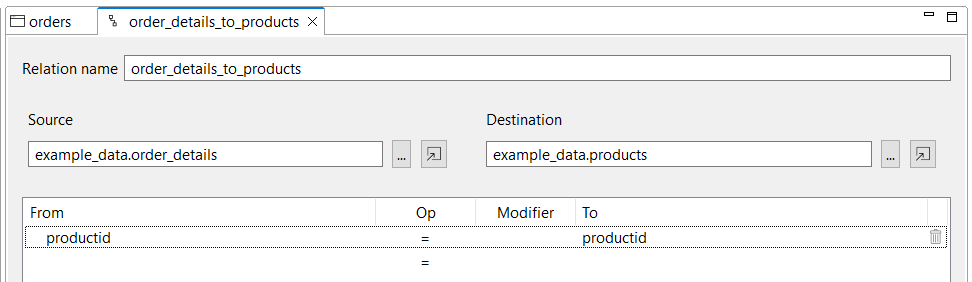
Relation Editor: order_details_to_produtcs
The Servoy Resource Locator
Using Code Completion CTRL-SPACE
Fully editable records and dynamic calculations